The new chair arrived on Tuesday. It showed up about 10:00. I abandoned work (as opposed to taking time off) to put it together.
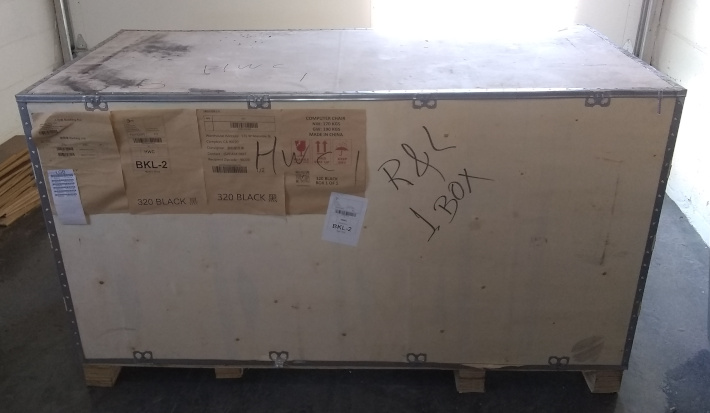
I have never seen such packing. It was seriously impressive. There must have been a company-wide Tetris contest – in hell-mode where all the pieces are curved. Whoever won decided how to pack this YUGE chair into the not-small crate.
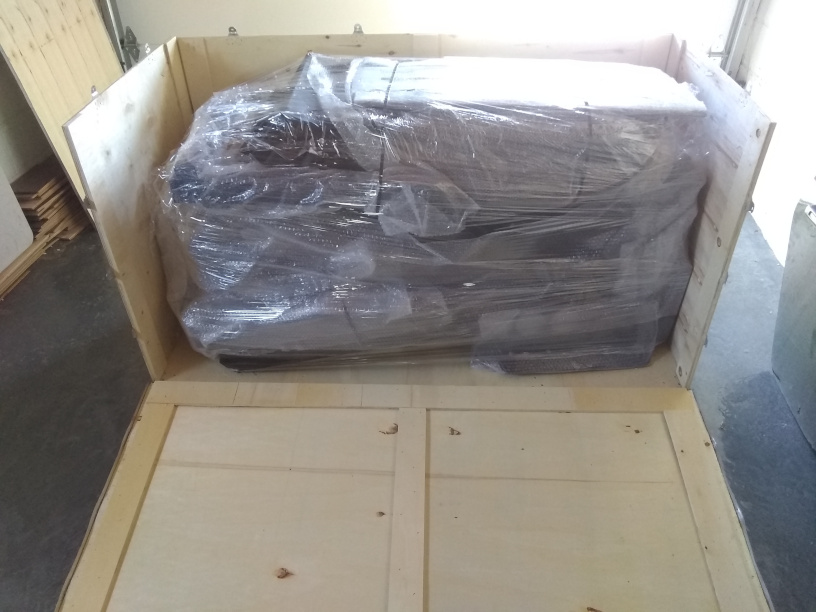
It took me two hours to get it out of the crate and cross-check the parts list. This is the first two minutes of the installation video.
Installation tip: Put it together in the room where you intend to use it. It is very likely that it will not fit through doorways after being assembled. It certainly would not have fit through mine. Getting just the base into my office was difficult – and put the first nick into my new door trim (note the passive voice; I didn’t do it due to clumsiness; the chair put it there).
The instructions are good, verging on excellent.
Installation tip: Watch all the videos, first. There have been design revisions and the supplementary instructions can be quite helpful. Some were irrelevant to me as I hadn’t bought that model, but I had to watch them to know that. Some were very helpful, if not necessary.
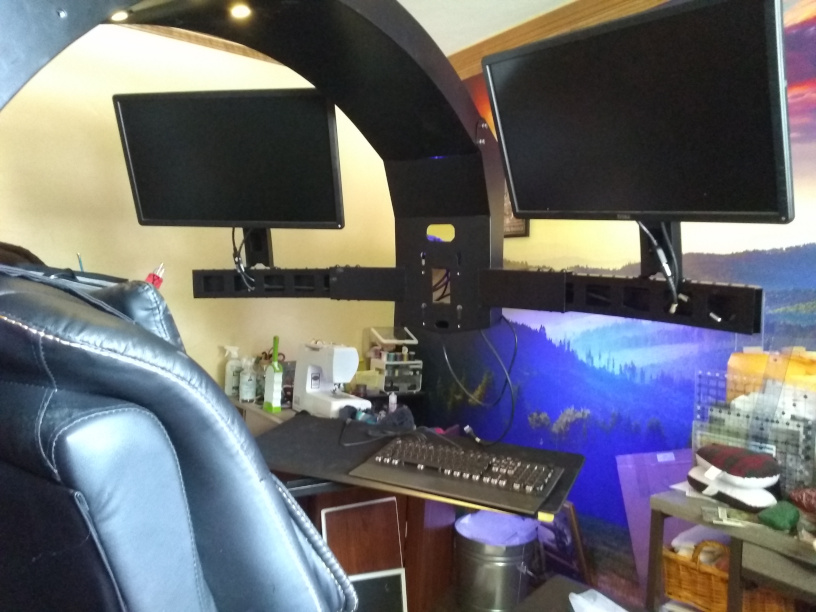
After three hours of assembly, I hit the first snag: My monitor does not have a VESA mount. It came with a VESA adaptor. I could not find said adaptor – despite still having ribbon cables in my pile of computer extras. I had to order one from Amazon, which will not show up until Tuesday. It was crazy-expensive for a small metal ring, but I imagine there is not much demand for them – especially considering that the monitor comes with one.
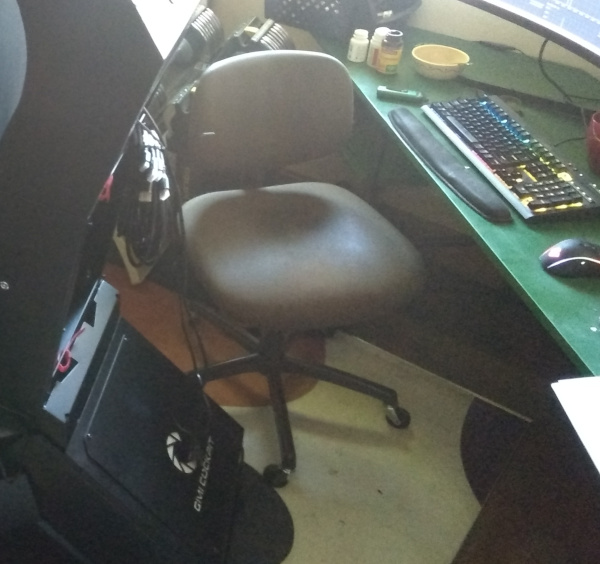
I’m now sitting at my Varidesk-less desk (so I’m looking down at the monitor, which does odd things to perspective with a curved monitor) on my 30-year-old chair (the 20-year-old chair will not fit in the office with that behemoth lurking behind me).
I thought to myself, I thought, “I have the two Raspberry Pi monitors that I can hookup.” I measured carefully to leave enough room for the big monitor (anyone want to take bets on the odds of me having gotten that right?) and installed them. I hit the second snag: There are pre-run HDMI cables (yay!), but Raspberry Pis do not have standard HDMI ports. They have “thin micro” HDMI ports. This requires an adaptor. Best Buy did not have any. Walmart had one – literally one. I bought it, but I need two. I’ll check the other Walmart, today.
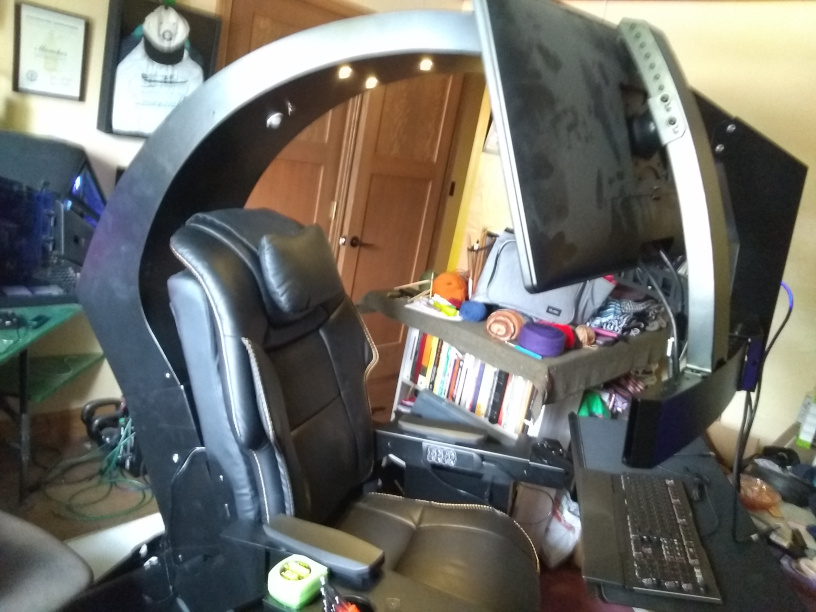
First impressions: This is not “cheap Chinese junk”. This thing is a 1950s American ideal.
- The chair is sturdy leather.
- The construction is steel (it’s HEAVY).
- It bolts (and screws) together. None of those weird Ikea connectors. It’s Mechano, not Lego.
- It’s cabled. All the cables are pre-run. There are HDMI cables, USB cables, sound cables, light cables, and power cables. All one needs to do is plug everything in.
- The motors are quiet (so far, at least). It has “only” one axis of motion, but does it ever have motion in that axis! The (prewired, of course) remote has four options, each with up/down buttons.
Of course, I haven’t actually used it, yet. I’ve sat in it and played with the remote (which is going to give me hours of fun), but I haven’t sat in it all day, let alone all-day-for-years. I have high hopes and paired with high, but seemingly reasonable, expectations.

One thought on “Putting a Chair Together”